4. Dashboard Overview and Walkthrough
Once you've completed onboarding, this is your home base. Here's what every section of the Postflows dashboard does.
Sidebar navigation
The sidebar gives you access to all Postflows features:
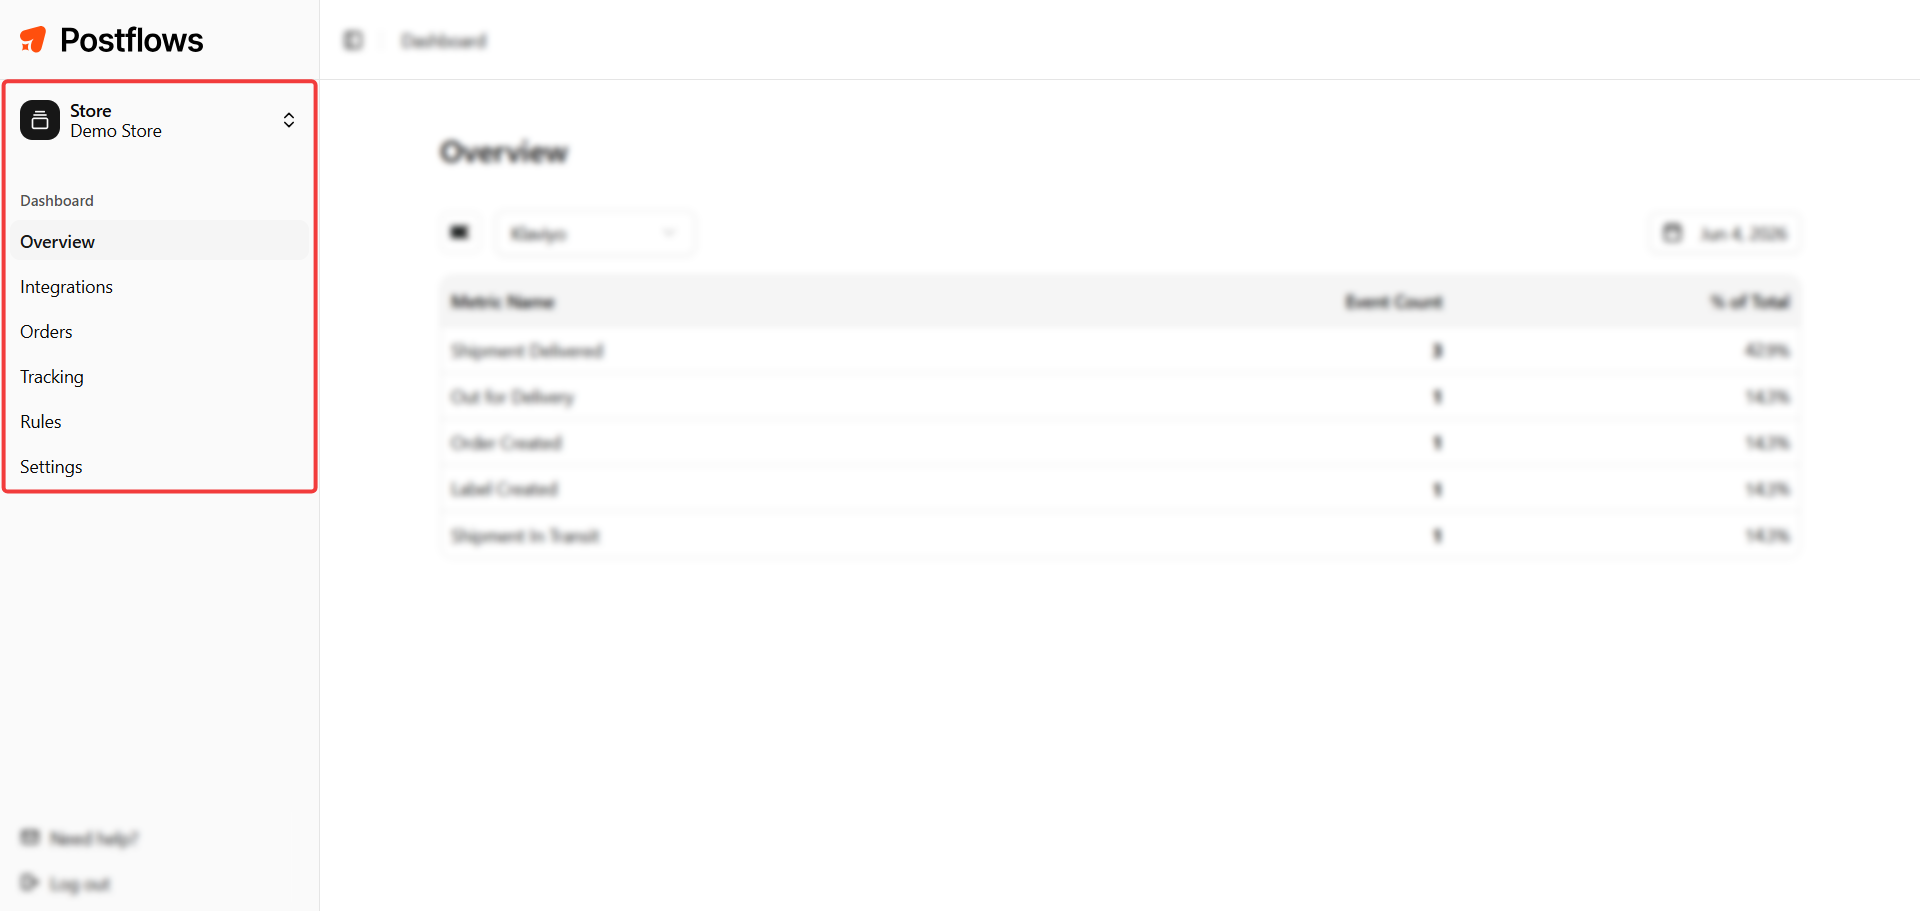
Settings tabs
Settings contains multiple tabs:
Overview page
The Overview is the first thing you see when you log in. It shows a summary of shipping events Postflows has processed for your store.
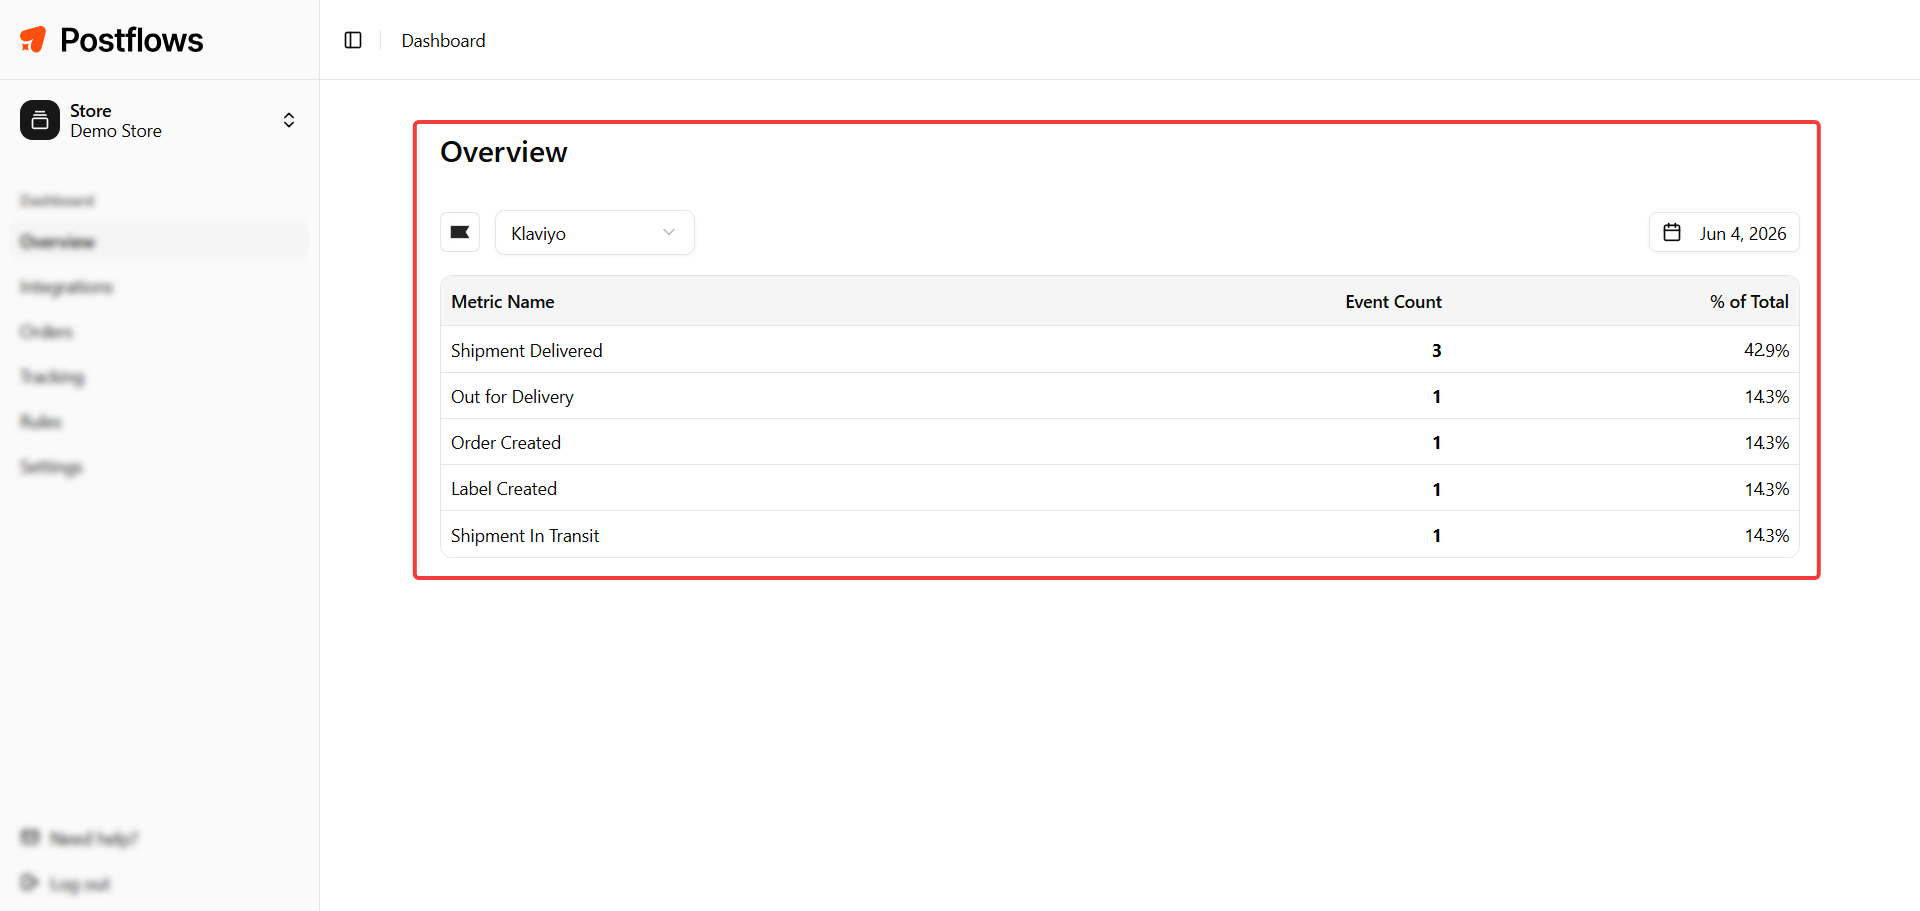
Integration selector
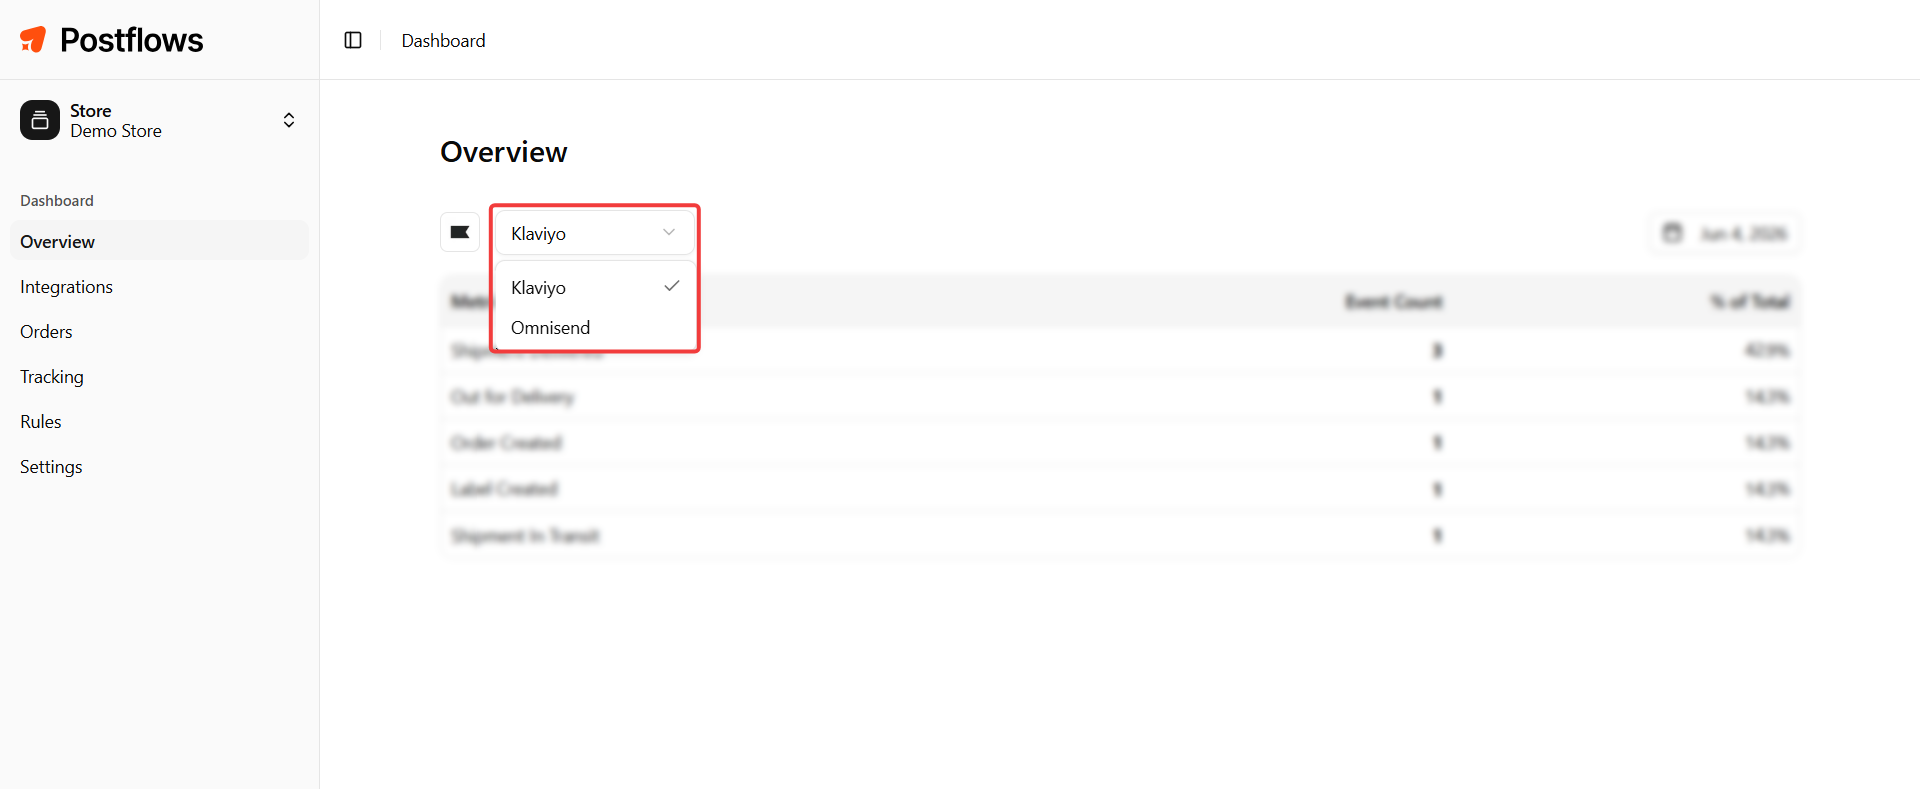
Use the dropdown at the top to switch between Klaviyo and Omnisend. The metrics shown reflect events sent to the selected platform.
Date range
Use the date picker to filter metrics by time period. Defaults to today.
Metrics table
The table shows each shipping event type alongside:
Event count - how many times that event fired in the selected period
Percentage - that event's share of total events
This gives you a quick read on which shipping events are most active for your store.
Alerts
If your Klaviyo or Omnisend connection is disconnected, a warning appears at the top of the overview. The metrics table will still show historical data, but new events won't be forwarded until the integration is reconnected.
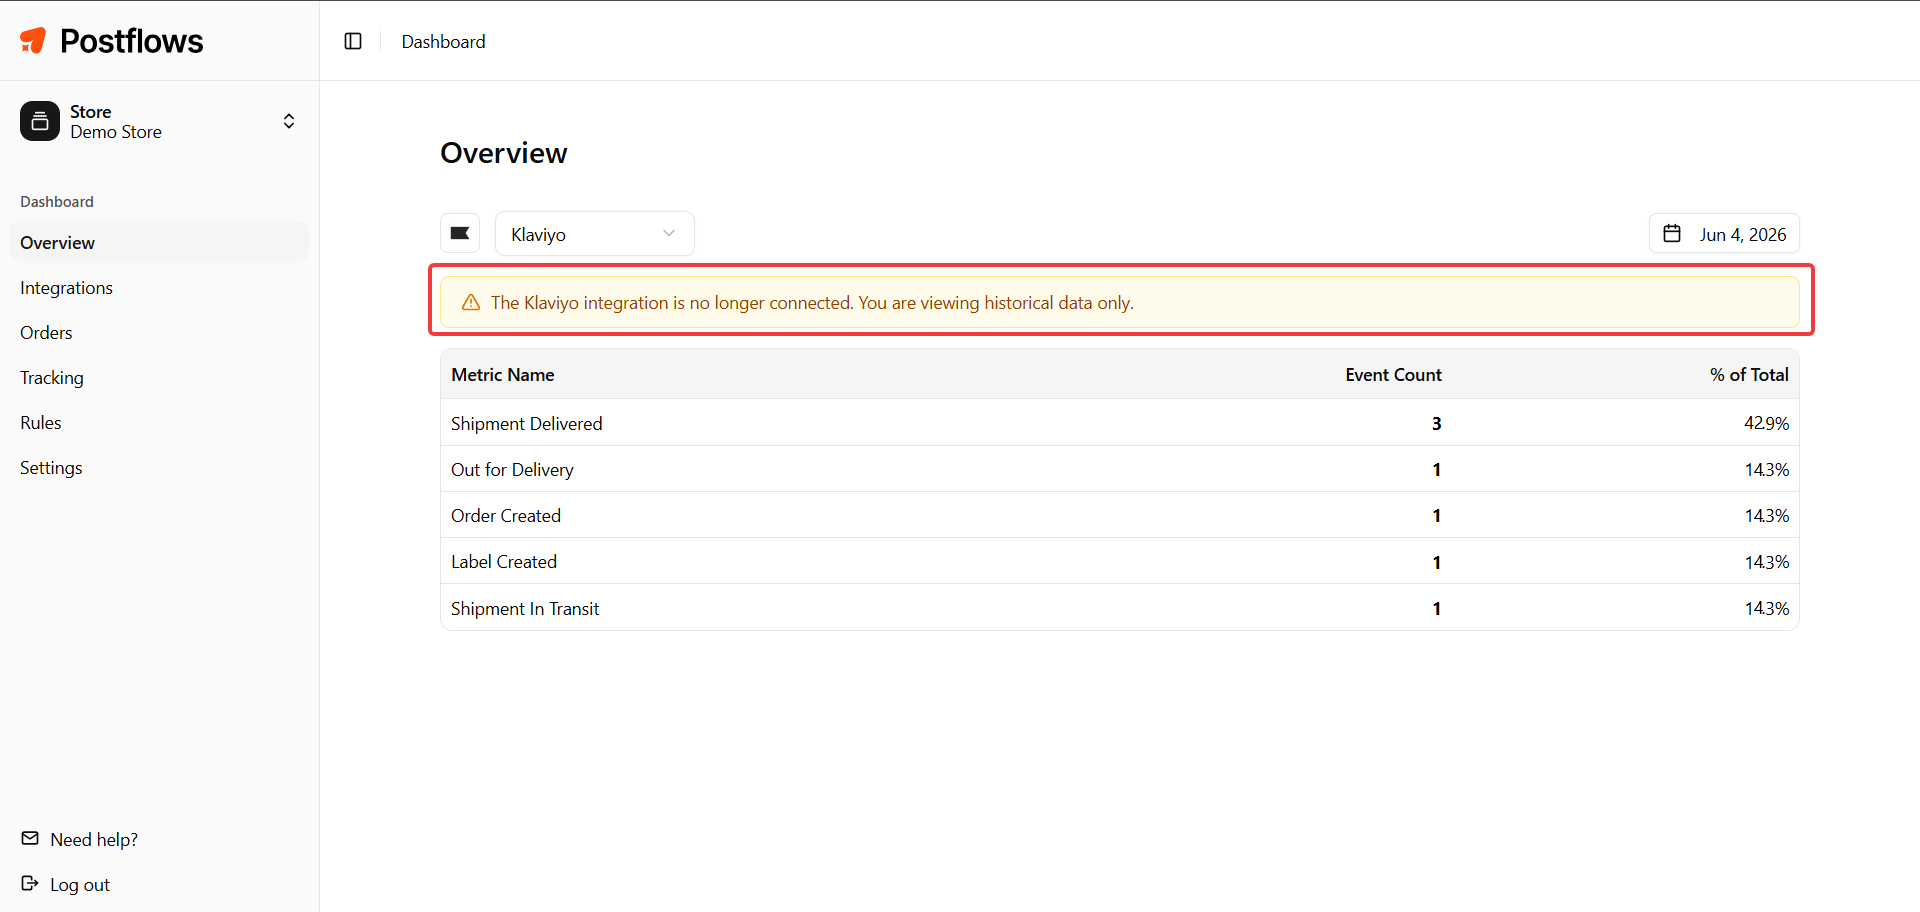
Empty states
No store connected yet
If you haven't connected a Shopify store, the dashboard prompts you to connect your first store. Click Connect first Shopify store to start the onboarding wizard.
No integration data
If a store is connected but no email platform is linked, the overview shows "No integration data found for this store." Go to Integrations to connect Klaviyo or Omnisend.
No events in period
If no shipping events occurred in the selected date range, the table shows "No events found for this period." Try selecting a wider date range.
What to do from here
Set up or review your events: Settings > Events - see Shipping Events Overview
Add team members: Settings > Team - see Managing Team Members and Roles
Configure filters: Rules - see Order Filters
Customize your tracking page: Tracking in the sidebar
Need help?
See Where to get help.